This guide shows how Quickbooks account owners can connect and integrate with SalesForce, so proposals can be exported as invoices. Track and manage your proposals all through the power of Quickbooks.
To learn how to submit proposals, click here to jump to the proposal creation section.
Let’s get started
- Navigate to https://fci.leadspiper.com
- Login with your SalesForce credentials if necessary
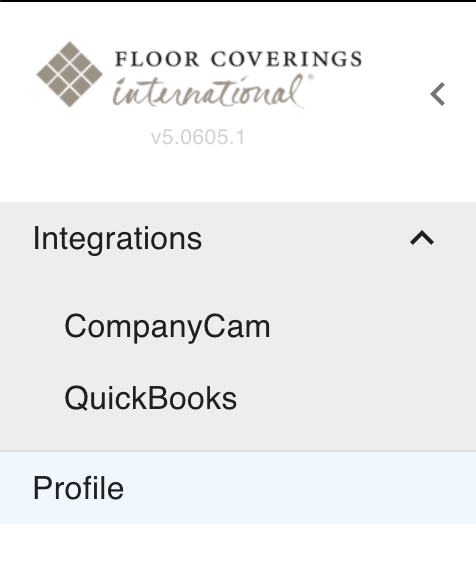
- Click on “Integrations”
- Click on “Quickbooks”
You should be prompted with this dialog:
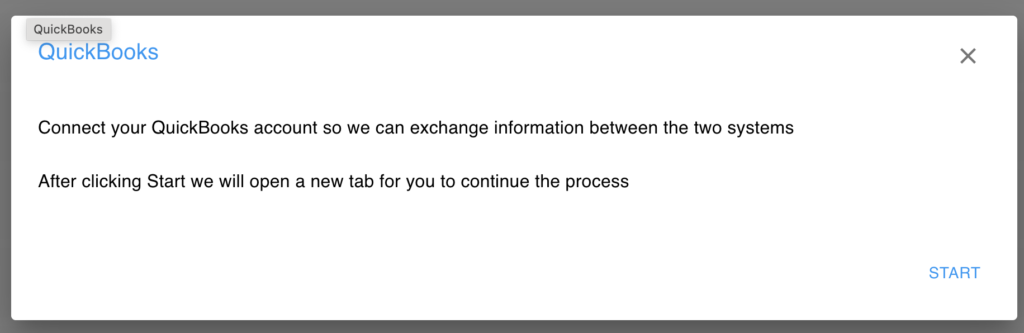
- Click the start button. A new browser tab will be launched
- Login to your Quickbooks account and confirm you want to connect it to LeadsPiper
- After the connection is done, you will receive a message that you can close the window
- Close it and go back to the tab where you had LeadsPiper
To confirm that the connection was successful, select “Quickbooks” under the Integrations menu again. You should see a pop up similar to below…
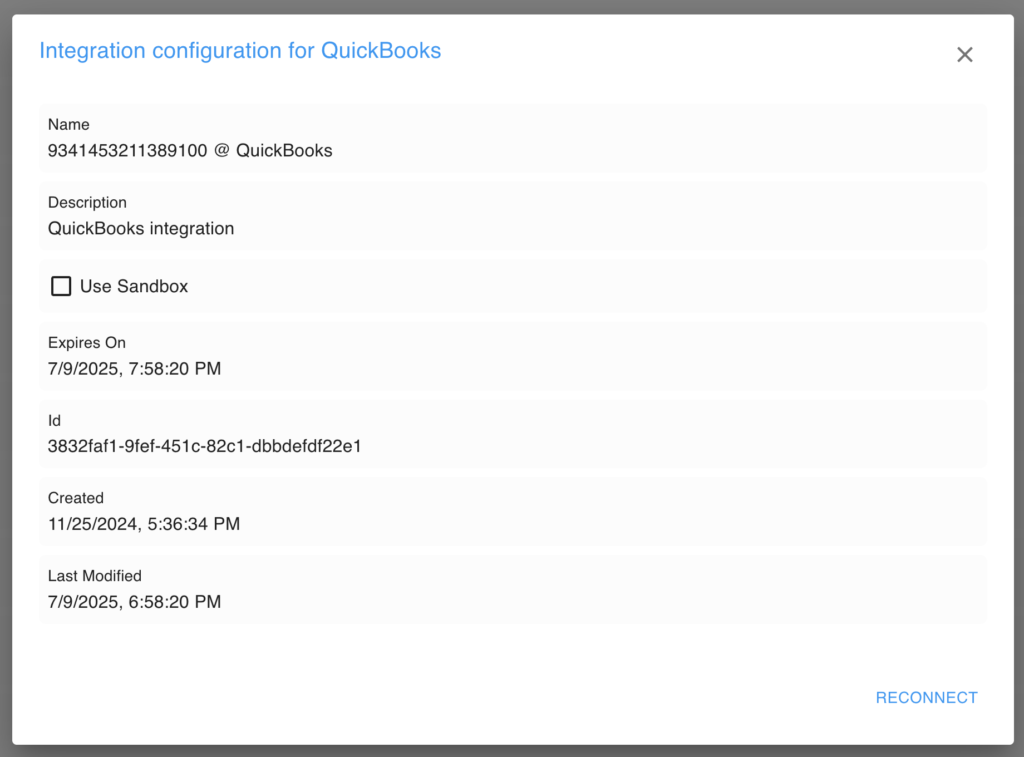
NOTE: Unless you are the Quickbooks account owner, you should never click on “Reconnect”. Contact the account owner if you are having issues connecting to your Quickbooks account.
How to Create Invoices
After you have connected the two accounts, you are ready for exporting Salesforce Proposals to Quickbooks as Invoices.
In Salesforce, open the Proposal (“Option”) that you want to export.
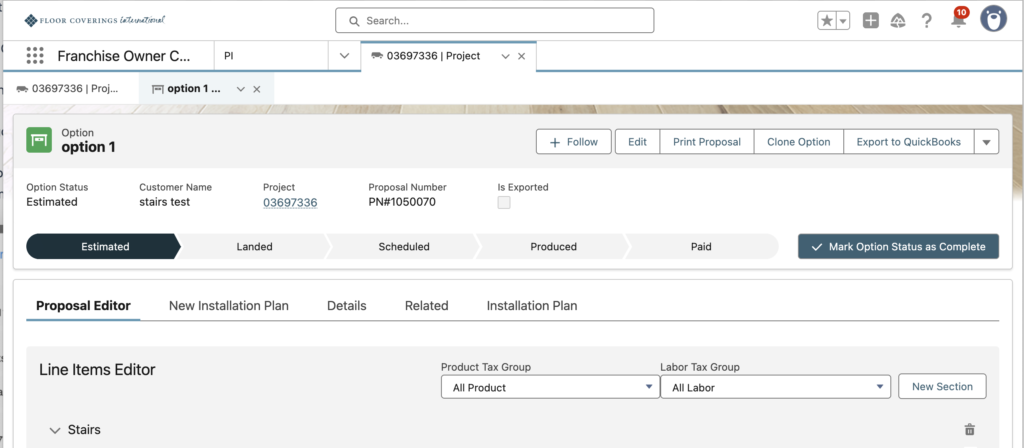
- Click the “New Installation Plan” tab
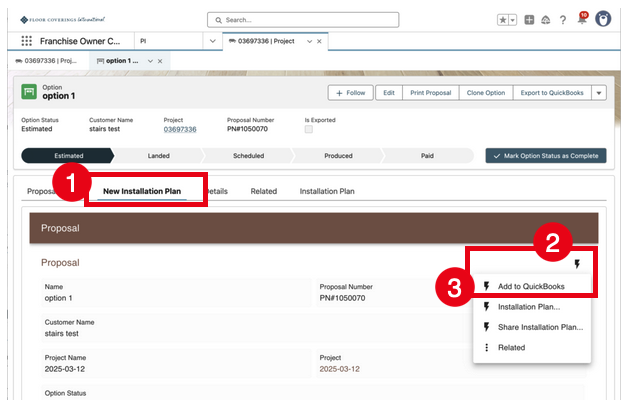
- Click the lightning bolt icon
- Click “Add to Quickbooks”
All set! After several seconds, you will receive an email confirming that the invoice was created with a link to open it in Quickbooks. If any issue happens preventing the invoice from being created, you will also receive an email.
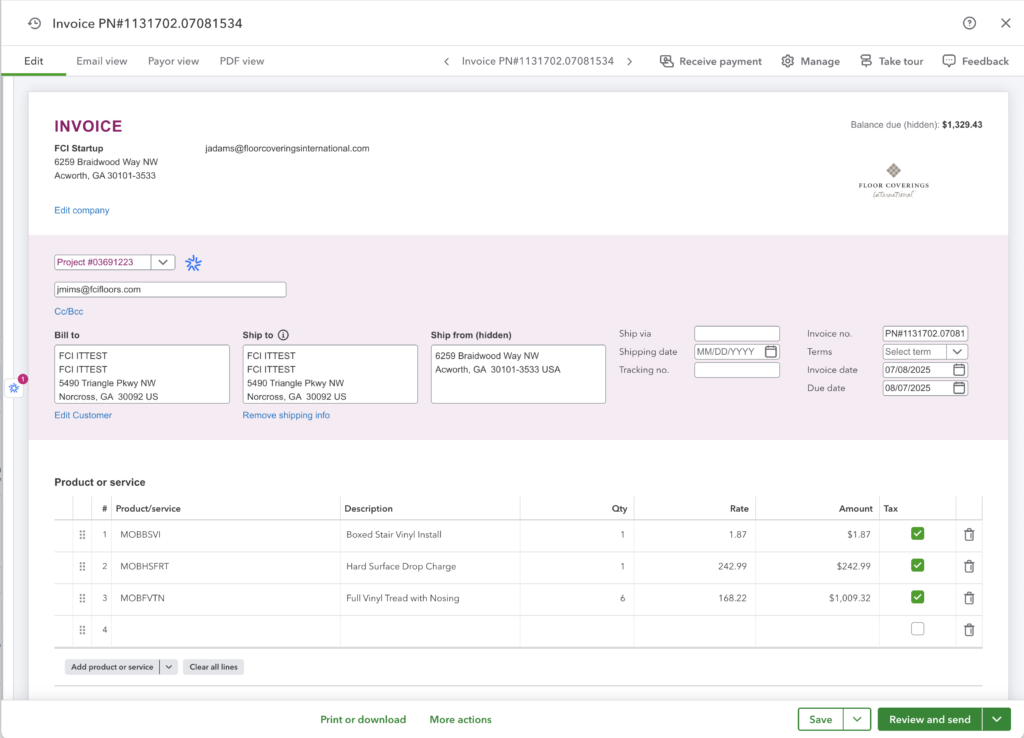
The invoice should include contact, project and proposal details.
The invoice will be assigned the “Proposal Number” as the document name.
If a signed proposal was added to the proposal in InspireNet mobile, it will be automatically added to Quickbooks as an attachment.